A number of months ago I purchased a series of Ubiquiti UniFi video surveillance cameras. These are standard IP ethernet cameras and uses a free (as-in-beer) server agent that runs happily on GNU/Linux to manage the recording and motion detection, which makes them a much more attractive offering than other proprietary systems that use their own specific NVRs.
Once I first got them I hooked them up in the house to test with the intention of installing properly on the outside of the house. This plan got delayed somewhat when we adopted two lovely kittens which immediately removed any incentive I had to actually install them properly since it was just too much fun watching the cats rather than keeping an eye out for axe murderers roaming the property.
I had originally ordered the 720p model, but during this time of kitten watching, Ubiquiti brought out a new 1080p “g3” model which provides better resolution as well as also offering a much nicer looking and easier to install form factor – so I now have a mix of both generations.
The following video shows some footage taken from the older 720p model:
During this test phase we also captured the November 2016 Wellington earthquake on the cameras using a mix of both generation of camera:
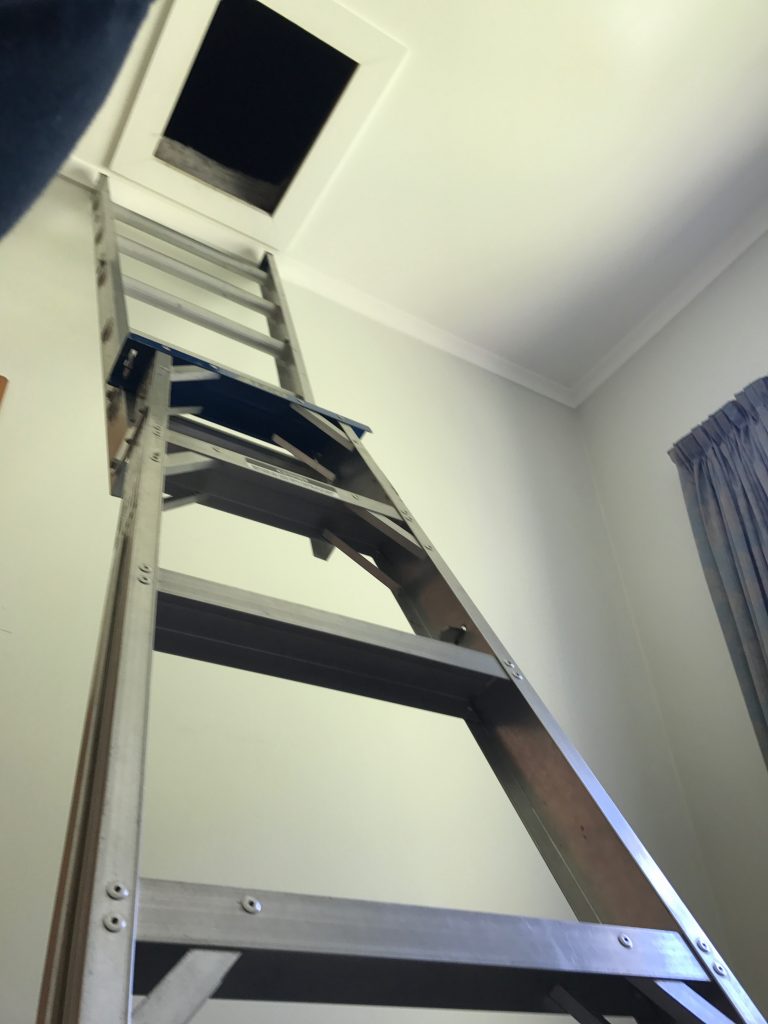
Finally with the New Year break, I got the time and motivation to get back up into the attic and install the cameras properly. This wasn’t a technically challenging task – mostly just a case of running cabling, but it’s a right PITA due to the difficulty of moving around in my attic thanks to heaps of water pipes, electrical wires, data wires and joists all hidden under a good foot or two of insulation.
On the plus side, the technical requirements for the cameras are pretty simple. Each camera is a Power-over-Ethernet (PoE) device, which means it gets both data and power via a single cable, which makes installation simple – no mains electrical wiring, just need to get a single cat6 cable to wherever you want the camera to sit. The camera then connects to the switch and of course the server running the included software.
I am aware of some vendors selling wireless cameras that use WiFi with a battery that needs to be recharged every so often. I can see the use and appeal for renters, but as a home owner, a hard wired system is going to be much easier and more reliable in the long term.
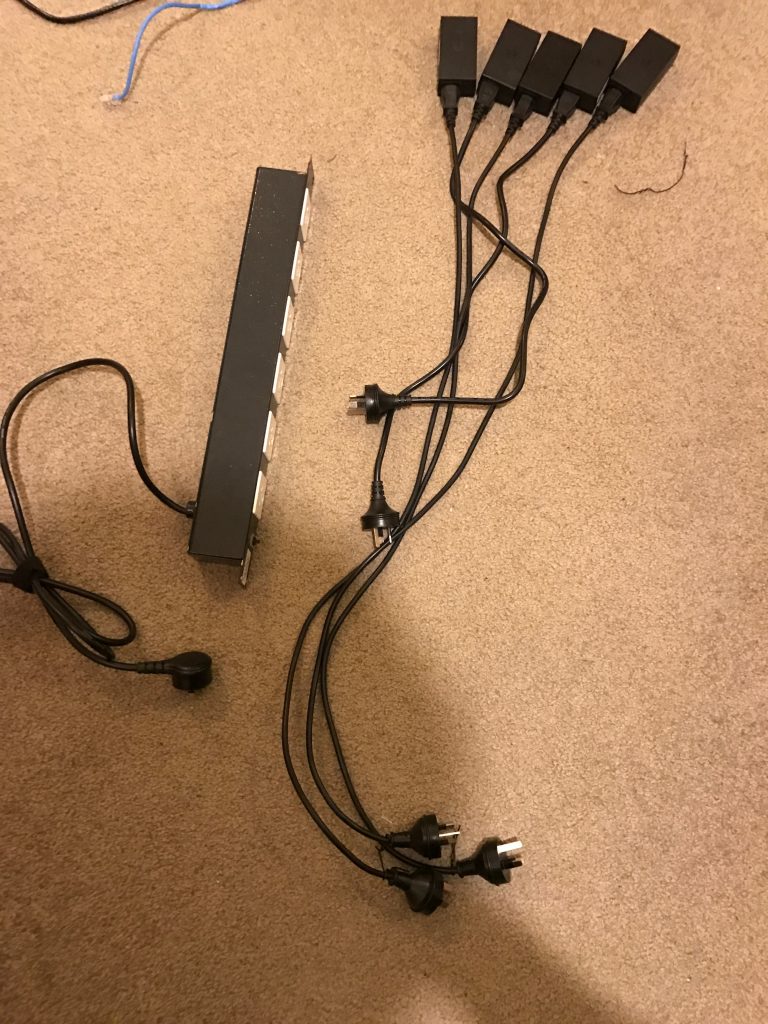
Ubiquiti sell the camera either with or without a PoE adaptor. Using the included PoE adaptor means you can connect them to essentially any existing switch, but if installing a number of cameras this can create a cable management nightmare. I’d strongly recommend a PoE switch if installing more than 5 cameras, even taking into account their higher cost.
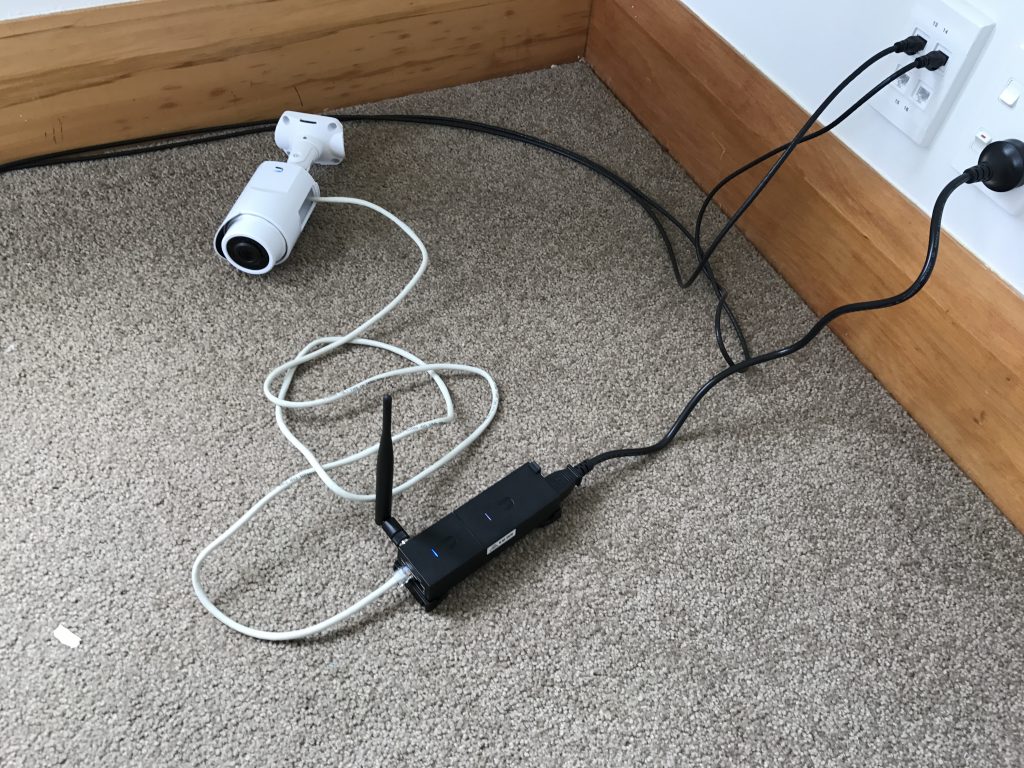
The easiest installation was the remote shed camera. Conveniently the shed has mains electrical wiring, but I needed to install a wireless AP to connect back to the house as running ethernet out there is just a bit too difficult.
I used Ubiquiti’s airGW-LR product which is a low cost access point that is designed to clip to their standard PoE supply. End result is a really tidy setup with a single power supply for both devices and with both devices mounted on a robust bracket for easy installation.
The house cameras were a bit more work. It took me roughly a day to run cabling through the attic – my house isn’t easy to move in the roof or floor space so it takes longer than some others. Also tip – it’s much easier running cabling *before* the insulation is installed, so if you’re thinking of doing both, install the ethernet in advance.
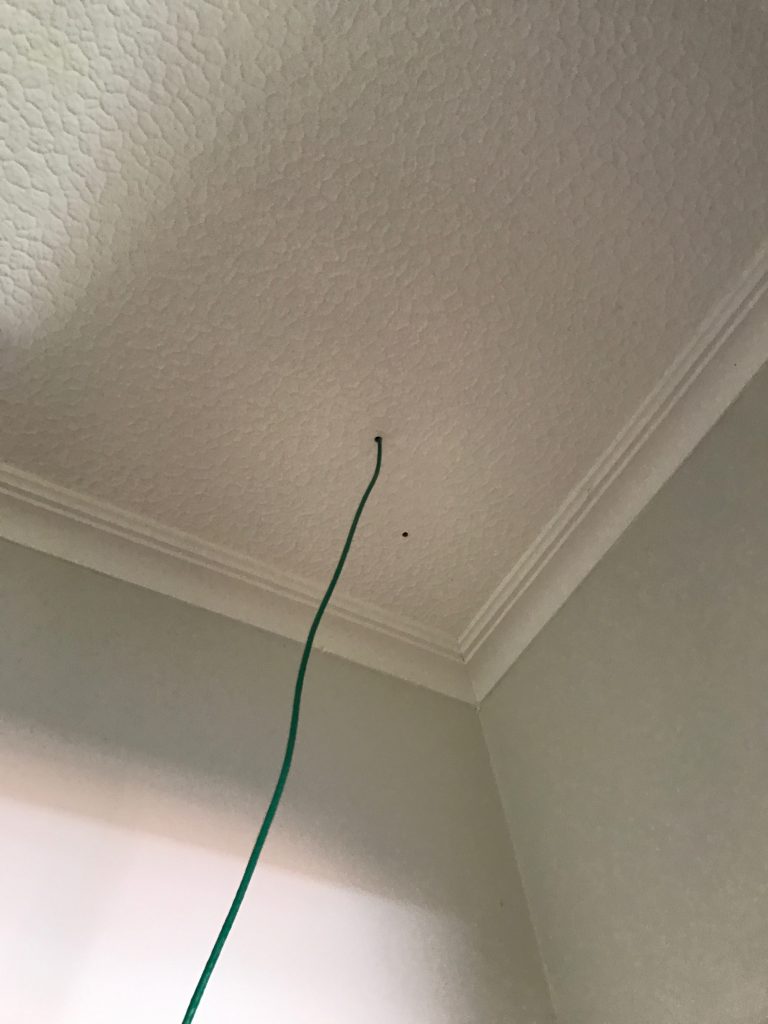
The annoying moment when you drill into a stud and end up with a hole that needs filling again. (with solid hardwood walls and ceilings, stud finders don’t work well at my place)
Once the cable run had been completed, I crimped the outside ends with RJ45 connectors for the cameras and then proceeded to take apart the existing patch panel, which also required removing most of the gear in the comms cabinet to free up room to work.
Couple tips for anyone else doing this:
- I left plenty of excess cable on my ethernet runs. This allowed me to crimp the camera end whilst standing comfortably on the ground, then when I installed the camera I just pushed up all the excess into attic. Ethernet cable is cheap compared to one’s time messing around up at the tops of ladders.
- The same applies at the patch panel – make sure to leave enough slack to allow you to easily take the patch panel off and work on it in the future – you can see from the picture below I have a good length spare that comes out of the wall.
- Remember to wire the RJ45 connectors and the patch panel to the same standard – I managed to do T568B at the camera end and T568A at the patch panel on my first attempt.
- Test each cable as you complete the wiring. Because of this I caught the above issue on the first camera and it saved me a lot of pain in future. A cheap ethernet tester can be found online for ~$10 and is worth having in your tool kit.
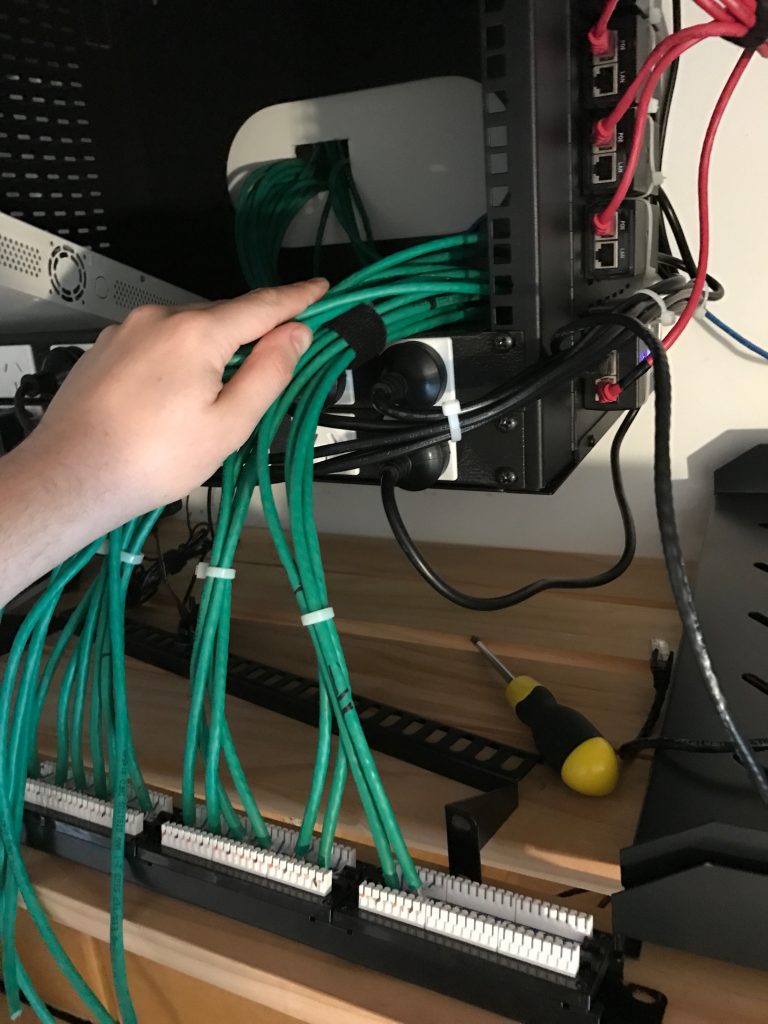
Down to only 4/24 ports free on the patch panel! I expect the last 4 will be consumed by WiGig/802.11ad in future, since it will require an AP per-room in order to get high performance, I might even need a second patch panel in future… good thing I brought the large wall mounted cabinet.
With the cabling done, I connected all the PoE adaptors. These are a bit of a PITA if you’re using a rack – you could get a small rackmount shelf with holes and cable tie down, but I went for cable tying them to the outside of the cabinet.
I also colour coded the output from the PoE adaptors. You need to be careful with passive PoE adaptors, you can potentially damage computers and network equipment if you connect them to the adaptor by mistake so I used the colour coding to make it very clear what cables are what.
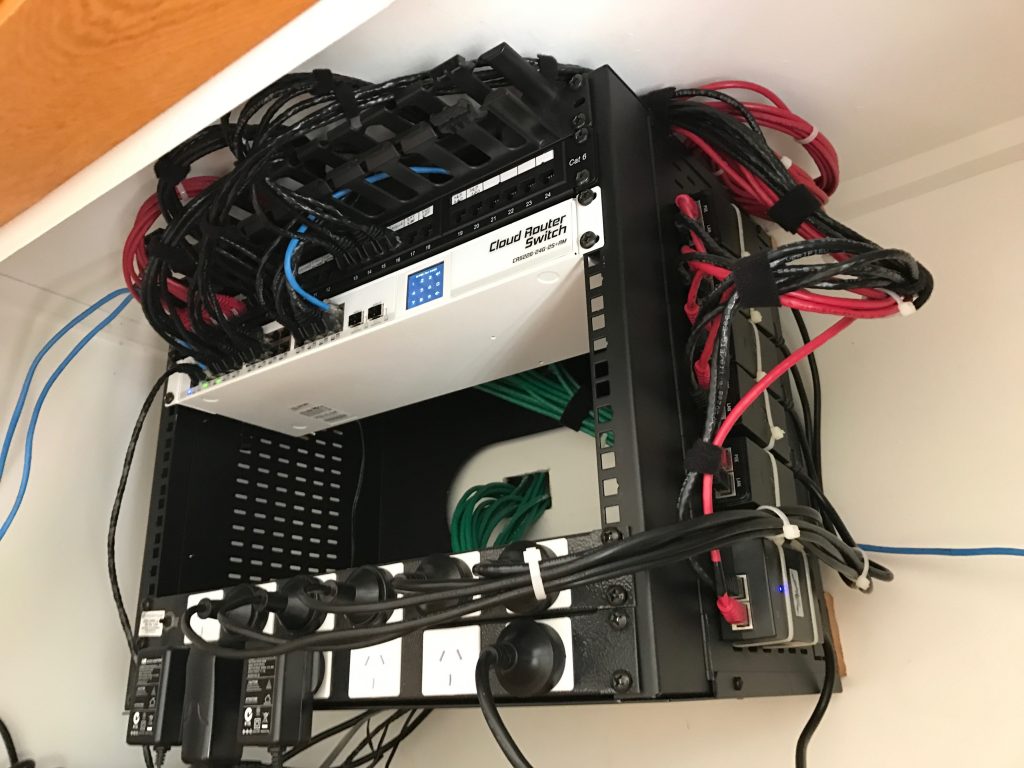
Finished cabling installation. About as tidy as I can get it in here without moving to using custom length patch cables…. but crimping 30+ patch cables by hand isn’t my idea of a good time.
Having completed the cabling and putting together the networking gear and PoE adaptors, I could finally install the cameras themselves. This isn’t particularly hard, basically just need to be able to screw something to the side of the house and then aim the camera in the right position.
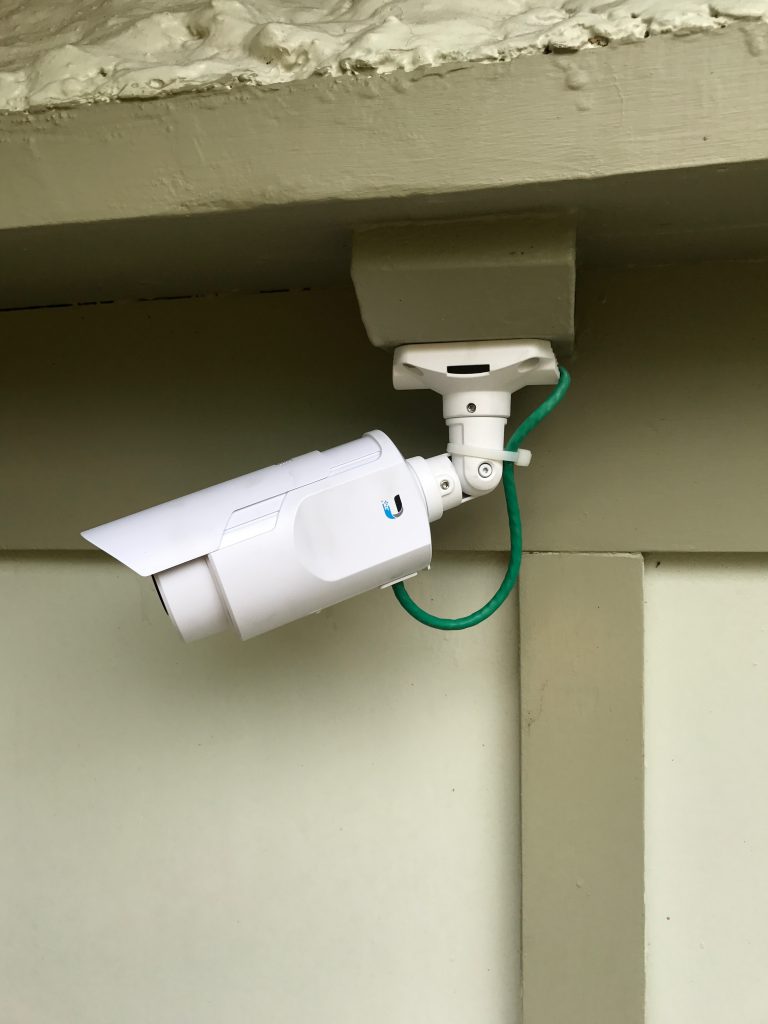
The older 720p model is the most annoying to install as it requires adjusting everything using an allen key, plus the cable must be exposed with a drip loop. It’s also more of an eyesore which is a mixed bag – you get better deterrence aspect, but it can look a bit ugly on the house.
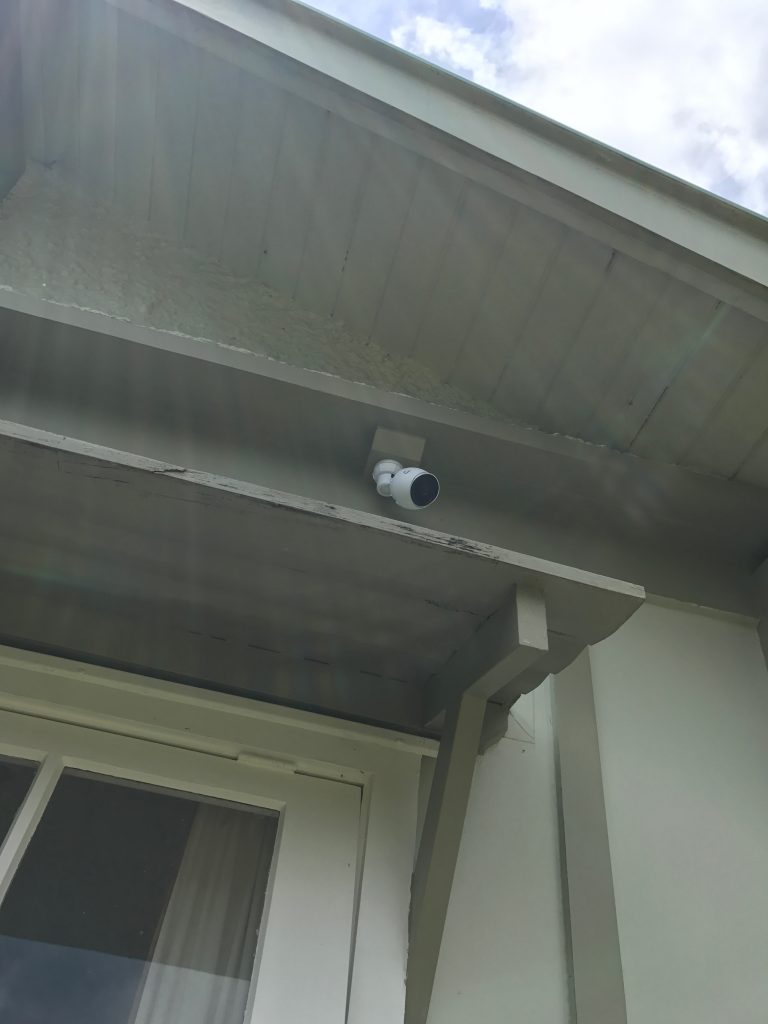
The newer model is more aesthetically pleasing, but it’s possible some people might not realise it’s a camera which could be a downside for deterrence.
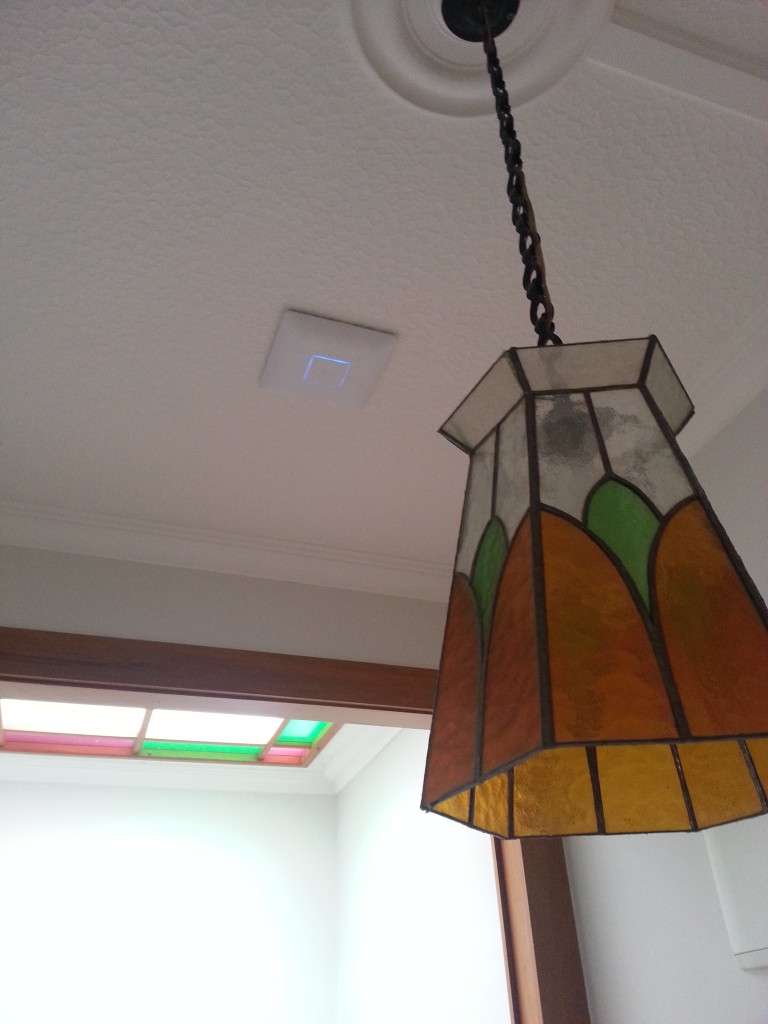
That being said, they look OK when installed on the house – certainly no worse than the ugly alarm and sensor lights you get on many houses. I even ended up putting one inside to give me complete visibility of the hallway linking every room in the house and it’s not much more visible than a large alarm PIR sensor.
Some additional features worth noting:
- All the cameras have built in IR, which means they provide decent footage, even at night time. The cameras switch an IR filter on/off automatically as required.
- All the cameras have built in microphones. Whilst they capture a lot of background wind noise, they’re also quite good at picking up conversations even when outside – it’s a handy tool for gathering intel on any unwanted guests.
With all the hardware completed, onto the software. Ubiquiti supply their server software free-of-charge. It’s easy enough to download and install, but if you have Puppetised your home server (of course you have right?) I have a Puppet module here for you.
Generally I’ve found the software solution (including the iOS mobile app) to be pretty good, but there are two main issues to be aware of with it:
-
First is that the motion detection is pretty dumb and works on percentage of image changed. This means windy areas with lots of greenery get lots of unwanted recordings made. It doesn’t causing technical issues, but it does make for a noisy set of recordings – don’t expect it to *only* record events of note, you’ll get all the burglars and axe murderers, but also every neighbourhood cat and the nearby trees on windy days. Oh and night time you get lots of footage of moths when they fly close to the camera with the IR night vision on.
-
Second is that I found a software bug in the mobile apps where they did not validate SSL certs properly and got a very poor response from Ubiquiti. That being said one of their reps recently claimed they’ve hired more security staff to deal with their poor responsiveness, so let’s see what happens on this front.
One feature which is strangely absent, is the lack of support for automatically uploading recordings to a cloud storage service. It’s not possible for everyone, but if on a fast connection (eg VDSL, UFB) it’s worth uploading all recordings to something like Amazon S3 so that an attacker can’t subsequently break in and remove the recording hardware.
My approach was setting up lsyncd to listen to inotify events from Linux every time a video file is written to disk and then quickly copy that file up into Amazon S3 where it remains for a prolonged period.
If you can’t achieve this due to poor internet performance, your best bet is to put the video recording server in a difficult to find and/or access location, sufficient to prevent the casual intruder from finding it. If you have a proper monitored alarm system they shouldn’t be lingering long enough to find it.
Stability seems good. I’ve been running these cameras since April and have never had the server agent or the cameras crash or fail to record. I’m using a Mac Mini for the camera server but you can always buy an embedded black-box NVR solution from Ubiquiti themselves. If you’re on a budget, a second hand Mac Mini or Intel NUC might be better value for money – just make sure it’s 64bit, not an older gen 32bit device.
